How to calculate a robot’s forward kinematics in 5 easy steps
Calculating the forward kinematics is often a vital first step to using a new robot in research. While there are some good tutorials available online, up until now there hasn’t been a simple step-by-step guide for calculating forward kinematics. In this post, we provide a simple guide along with some tips on calculating the kinematics of any robotic manipulator.
Calculating kinematics is a cornerstone skill for robotics engineers. Kinematics can sometimes be a pain, however, being told to “go and calculate the Forward Kinematics” is almost robotics research shorthand for “go and get familiar with this robot”. It’s the vital first step when using any new robot in research, particularly for manipulators.
Even though I had learned the theory of kinematics in university, it wasn’t until I had calculated various kinematic solutions for a few real research robots that the whole process started to feel intuitive. Even then, because I was not calculating kinematics every day I had to go back to my notes to “remind myself” how to do it every time. It would have been really helpful to have a step-by-step guide to remind myself which stages to go through, without having to read through hundreds of pages of academically written equations in text books. A sort of kinematics “cheat sheet” would have been useful.
This post is exactly that sort of cheat sheet. For now, we’ll primarily focus on the Devanit-Hartenberg (DH) approach to forward kinematics, as it’s the most common, and we’ll get to inverse kinematics in a future post.
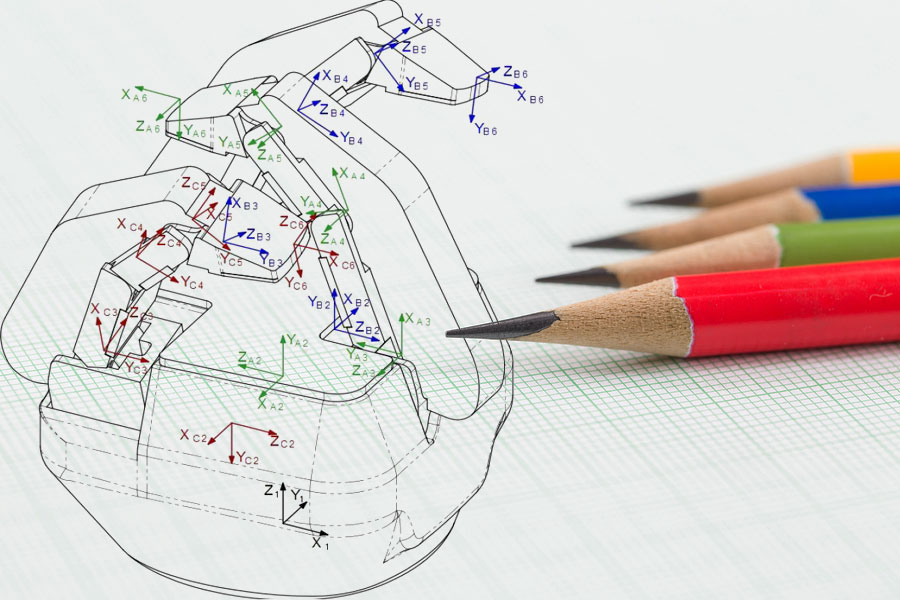
Step 1: Get a Pencil and Paper
It can be tempting to jump straight for the computer when starting out with a new robot. However, even if the robot looks like a “standard” 6R manipulator, I always sit down with a pencil and paper to draw out the kinematic diagram. This simple task forces you to carefully consider the actual physical configuration of the robot, avoiding false assumptions that can wreak havoc later on during coding.
There are various ways to draw a kinematic chain. Pick whichever style you prefer. I favor simple cylinders for the revolute joints and lines for the links. Do a Google Image Search for“kinematic diagram” and see some of the different styles available.
As you draw, work out which way each joint moves and draw this motion as double-ended arrows onto the diagram.
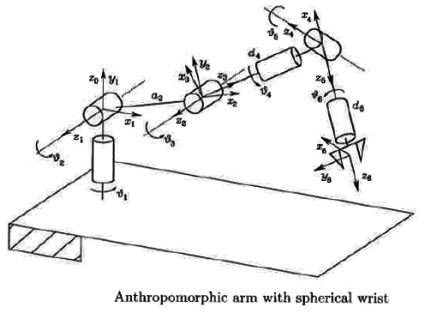
Step 2: Figure Out Your Axes
The next key step is to draw the axes onto each joint. The DH approach assigns a different axis to each movable joint.
If you set up your axes correctly then working with the robot will be easy. Set them up incorrectly and you will suffer countless headaches. These axes will be required by simulators, inverse kinematic solvers, and even other researchers (nobody wants to solve a forward kinematic problem if someone else has already done it).
The z-axis should lie on the axis of rotation, for a revolute joint, or axis of extension, for a prismatic joint. The x-axis should lie along the “common normal”, which is the shortest orthogonal line between the previous z-axis and the current z-axis.
Step 3: Remember Your End Effector
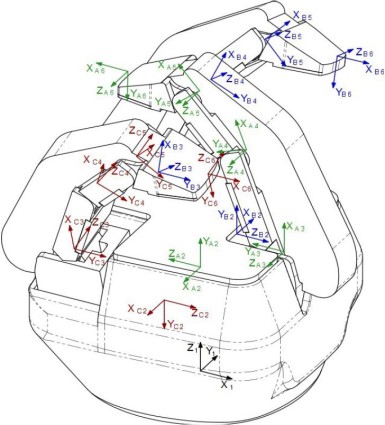
The goal of calculating the forward kinematics is to be able to calculate the end effector pose from the position of the joints.
Most forward kinematic tutorials will generalize the end effector as a single distance from the final joint. This is fine for a simple “open-close” gripper. However, as modern grippers are often more complicated than this, it’s worth considering how the end effector operates. The Robotiq 3-Fingered Adaptive Gripper, for example, has a few different gripping modes. Each mode will correspond to a slightly different desired end effector pose. You should consider the end effector carefully when formulating the kinematic model.
Step 4: Calculate the DH parameters
Denavit-Hartenberg parameters are often required to enter the robot model into a simulator and start performing any sort of analysis on it.
The best way to visualize the DH parameters is to once again watch the video above. Have a look one more time with the DH parameters in mind.
The DH parameters break down each joint of the robot into four parameters, each taken with reference to the previous joint. They are calculated in reference to the “common normal” described above. Note that if the previous z-axis intersects the current z-axis, which is often the case, the common normal has a length of zero.
Go through each joint on your drawing and write down the DH parameters for each joint. Each joint should have one value, which is a variable representing the actuated joint. For a more detailed explanation and some examples, I recommend this handout by Peter Corke or this chapter from Introduction to Robotics.
Alternatives to the DH parameters — The DH approach is the most common approach to forward kinematics, but it’s not perfect. One of its failings is that it doesn’t handle parallel z-axes very elegantly. There are various alternatives, including Screw Theory representations, Hayati-Roberts and other geometric modelings (see this paper for a comparison). Although these may (or may not) be better approaches, most of the kinematic libraries below do accept the DH parameters, and for that reason it’s a reasonable approach to begin with.
Step 5: Choose Your Library
There are loads of kinematic software libraries, and many of them do far more than just calculate forward kinematics. Most of them include inverse kinematic solvers, dynamics, visualization, motion planning and collision detection, to name just a few features. These libraries will transform your DH parameters into matrices, which are then multiplied together to calculate the relationship between joint positions and end effector pose.
Of course, you can also quite easily “roll your own” forward kinematic library using your favorite programming language, if you’re inclined that way. I’ve taken this approach myself, but apart from being a good learning exercise it didn’t offer many more benefits than using an existing library


Comments
Post a Comment